How to Add Captions to a Screen Recording
Published by Rescreen, which makes one of the products discussed. How we source and update these guides.
To add captions to a screen recording, generate or write a timed transcript of the finished video, correct the words and cue times, then attach the caption file in your video host or render the text into the picture. Check the published version with captions enabled. A text transcript alone is not a synchronized caption track, and a downloaded SRT does not automatically appear in every video player.
This guide takes you from a saved narrated recording to captions the viewer can use. It includes a local transcription route, an example of how edits change timing and a final playback checklist. If you still need to plan and capture the lesson, start with the tutorial video workflow. Here, the job is to make the finished explanation accurate and readable as text.
Choose the delivery method before styling captions
A separate caption track is usually the useful starting point for a hosted tutorial. The video and timed text remain separate, so the host can offer a caption control and you can correct the text without rendering the whole video again. Confirm which file format the destination accepts before spending time on styling.
| Delivery | What you prepare | What to verify |
|---|---|---|
| Hosted video with caption support | A finished video and a supported timed caption file. | The correct language track is published and selectable. |
| A web player you maintain | A video plus a compatible text track, commonly WebVTT. | The player loads the track and exposes usable caption controls. |
| A version with text always visible | A newly rendered video containing the caption text. | Text stays readable and does not cover the software controls. |
| A downloadable handoff | The video, caption file and a short note naming the matching version. | The recipient knows how to load the track in their player. |
W3C’s caption guidance distinguishes captions that viewers can turn on and off from open captions that remain visible. Captions convey speech and meaningful non-speech sound; they are more than a cleaned-up summary. A notification sound that explains why a presenter stops may need a description, whereas an irrelevant background noise may not help the viewer understand the lesson.
Keep a clean video master and editable caption file even when your immediate destination needs burned-in text. That gives you a practical route to correct a product name, make another language version or change the destination without trying to remove text from already rendered pixels.
Finish cuts and speed changes before caption timing
Choose the exact video revision you will deliver. Removing a repeated explanation, changing playback speed or trimming the opening changes when later words occur. Captions timed against the original recording may be accurate text but incorrect instructions when attached to the edited version.
If you record with Rescreen, capture the screen and narration, review the automatic edit, and restore any action or pause needed to understand the procedure. Then download the approved version before generating its separate captions. Rescreen downloads require Pro under the current plans; the free transcription tool described below is a separate page that accepts a file you already have.
This sequence lets Rescreen help prepare a clear recording while keeping caption review tied to the final timing. Its automatic editing transcript is not a promise that every exported movie contains a selectable caption track. This guide uses the downloaded video and separate caption tools; it does not assume a native caption-import or burn-in control in the recorder.
Give the export a versioned name, such as workspace-summary-v03.mp4, and use the same stem for its caption file. Note the duration. If you later change the edit, treat the old captions as needing review rather than silently pairing them with the new export. The filler-word editing guide explains why preserving screen actions and spoken meaning matters before this handoff.
Create a timed caption draft from the final file
The free video to text tool can create an SRT draft on your device. Its speech model downloads to the browser, then processes the file locally. If you recorded the narration separately, audio to text does the same for an MP3, M4A or WAV file. The subtitle generator uses the same local model and splits the result into readable cues you can correct against the video before downloading SRT or VTT. That is different from the Rescreen recorder’s server-based transcription. Use the tool’s current compatibility and file-limit information when choosing a device or a long recording.
- Open the tool and choose the finished video from your device. Check that it can decode the sound.
- Select the spoken language if you know it, or use automatic detection. Choose a model and start transcription; allow the initial model download to finish.
- Read each resulting line while playing the corresponding audio. Correct the text in place, especially product names and instructions.
- Use Download .srt subtitles to save the timed draft. Keep the clean video alongside it.
- Open the pair in your destination’s caption editor or another editor that supports cue timing. Review timing and any information the speech draft omitted.
The tool produces phrase-level timestamps, not word-by-word timing. It does not identify speakers, translate the narration or read labels from the screen. Those limits matter for a software walkthrough: a correctly transcribed sentence can still omit who spoke or a meaningful application sound. Add necessary information during caption review instead of treating speech recognition as finished captioning.
If recognition is poor, listen to the original before trying to repair the text. Check that the intended voice was recorded, the language is right and music or overlapping speech is not masking it. A quieter section can require manual transcription. If you cannot reliably determine a word that changes the instruction, ask the presenter or rerecord that passage; do not guess from the expected workflow.
Correct the words against both the audio and the screen
Review captions in two passes. First listen and correct what was said. Then watch the interface and check instruction-bearing terms: names, numbers, keyboard shortcuts, permissions and negatives. “Do not enable sharing” and “Enable sharing” are opposite instructions even though a speech model might produce a fluent sentence in both cases.
Use the actual spoken instruction rather than silently rewriting a mistaken explanation into a different procedure. If the presenter says the wrong control name, correct the recording or make a clear editorial correction. Captions that contradict the voice leave viewers with two competing versions of the lesson.
Break text into readable phrases. Keep a control name together when possible, and avoid splitting a negative from the action it qualifies. Check the destination’s line wrapping at a small player size: a line that looks short in a wide editor can cover several rows on a phone. Timing and legibility are connected, so do not solve a crowded cue merely by shrinking the text.
For multiple speakers, add identification where the speaker is not obvious and the distinction matters. Include a concise sound description when it carries information, such as an error tone followed by a failed action. A transcript of speech alone should not be presented as a complete representation of the audio when these cues are necessary to follow the recording.
Synchronize each cue with the edited recording
A caption cue has a start time, an end time and text. Review all three together. Play from just before the cue, listen to the phrase and check that it appears when needed without lingering over the next unrelated instruction. Then play across the boundary with its neighboring cues. Checking an isolated paused frame will not reveal a distracting flash or a late transition.
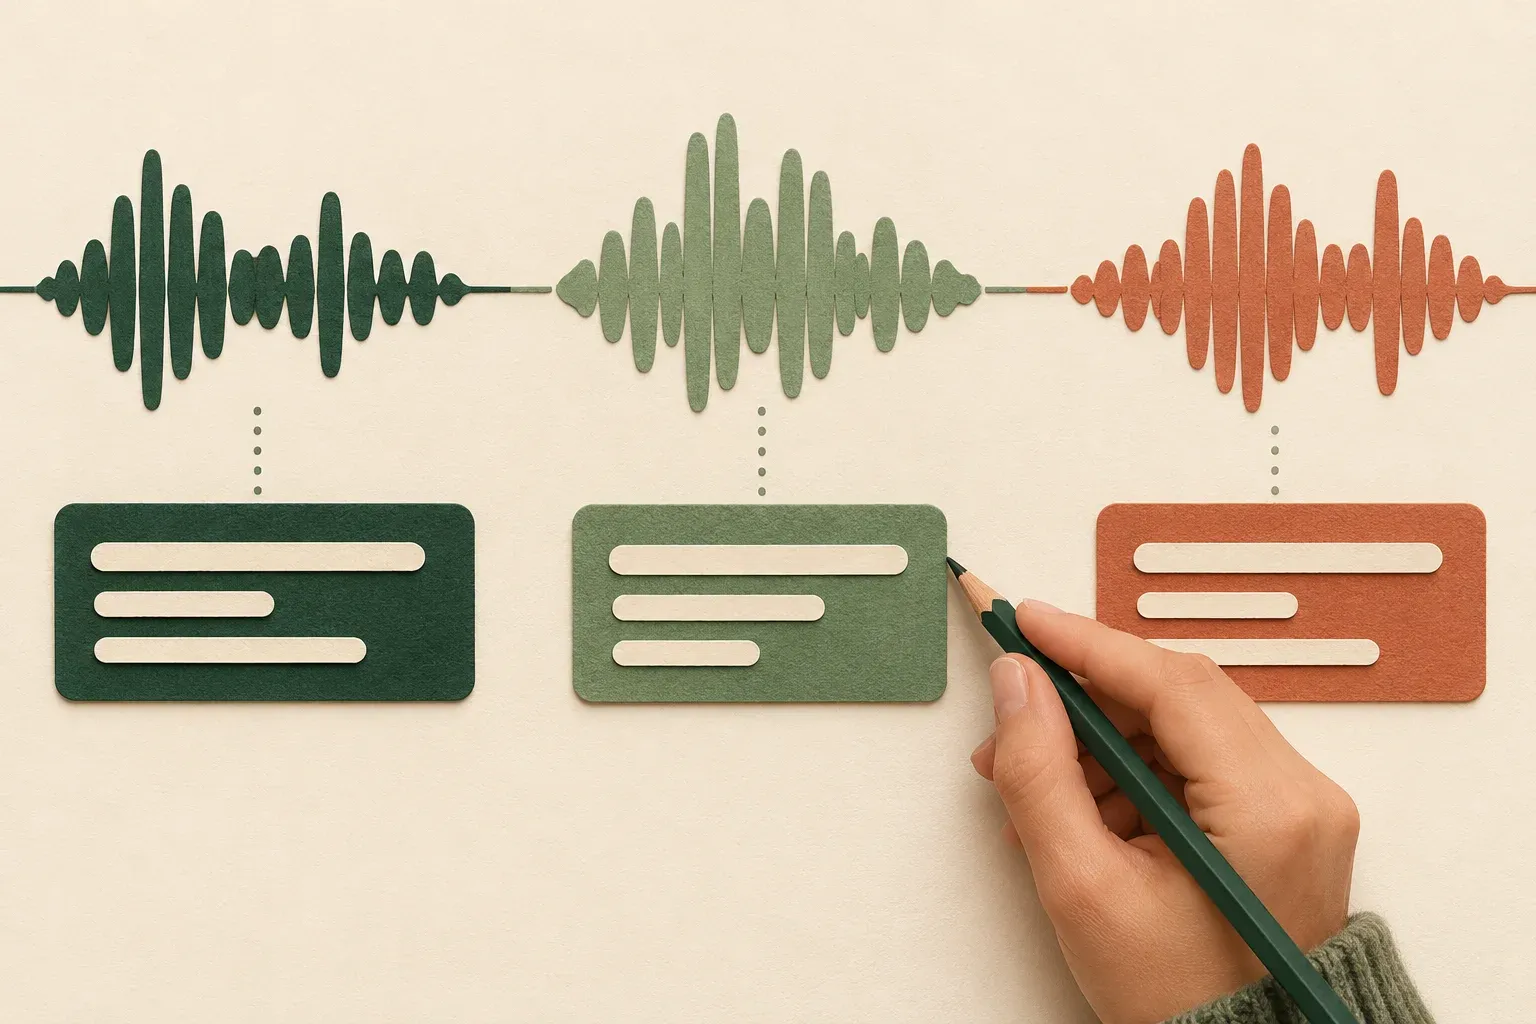
Consider an authored example: “Open Settings” begins at eight seconds in the original, and a two-second false start before it is removed. In the edited version, that phrase begins at six seconds. A cue still starting at eight seconds is late. This arithmetic illustrates the edit; it is not a measurement from a real recording.
A single shift can fix cues only when the relevant change is a constant offset. If you remove several passages in different places, each later region can need a different adjustment. If you change speed, the mismatch can grow over time. In those cases, generating a new draft from the final export and reapplying verified text corrections may be clearer than moving every cue by the same amount.
Check the first spoken line, a phrase near the middle and the last line to classify the problem, then review the full track. These three samples help locate an offset or drift; they do not certify the remaining cues. Keep a note of any later video edit so the next reviewer knows why the captions changed.
Attach the corrected track to the destination
For YouTube, the current caption-upload instructions start in YouTube Studio: choose Subtitles, select the video, add the language and select Add under subtitles. Choose Upload file, select With timing for a timed SRT, continue, select the file and save. Review the resulting track and the public or restricted viewer page with the access you intend to provide.
The official YouTube Creators video on adding captions explains file upload and timeline adjustments. It is an older interface demonstration, so follow the current Help page if labels differ. The useful distinction remains whether you are supplying already timed captions or asking the destination to align transcript text.
For a web player that requires WebVTT, use the SRT to VTT converter after proofreading and timing. It changes the format and reports unsupported styling or placement; it does not create missing words or synchronize a mismatched track. Review conversion warnings, download the result and attach it through your player’s documented caption configuration.
Do not assume that putting a caption file beside a video on a server makes the player load it. Confirm the track is attached, correctly labeled and available to the recipient. If the host processes uploads, wait for the track to be available before concluding that the file failed. Test the actual viewing page rather than relying only on the editor’s preview.
Make a separate burned-in version when needed
If the destination needs text permanently visible, use an editor with subtitle rendering, or add captions to the video in your browser. Import the final video and corrected caption track, check the timing, set legible text and background treatment, then render a new video. This is a delivery branch after caption correction, not a reason to skip the editable caption file.

Inspect every place where the screen layout changes. A caption position that is clear over a dashboard may hide Save in a dialog or cover a notification at the bottom of the screen. Move the captions or reframe the picture where the editor supports it, while keeping the relevant control readable. Check the recording-resolution guide if both captions and interface labels become too small in the intended player.
Export this version under a distinct name and replay the encoded file. Avoid stacking a second visible caption track over burned-in text unless that behavior is intentional and usable. Keep the original clean export so you can create a corrected version without placing new words over old ones.
Check what the viewer receives
Open the final destination outside the caption editor. Select the intended language and play the whole recording with sound, comparing words and cue timing. Then watch without sound to check whether the captions and picture communicate the necessary instructions. The silent pass complements the audio comparison; it does not replace it.
Check a narrow player, full-screen playback, the beginning and end, and every transition where a caption might cover a control. Confirm that the final line is not cut off by the player ending. If handing over files, send the matching video and caption revision with clear instructions for loading the track. Keep the review notes, clean master and corrected caption file together for the next update.
| Problem | Check first | Repair and verify |
|---|---|---|
| Correct words appear late throughout | Was an opening section removed after captioning? | Compare several speech points, adjust a confirmed constant offset, then replay the full track. |
| Captions become less synchronized later | Were there multiple cuts or a speed change? | Retime affected regions or generate a new draft from the final video; retain verified text corrections. |
| No captions in the viewer’s player | Is the track attached, published and selected? | Check language and file support in the host, then reopen the recipient view. |
| Two layers of caption text | Does the picture already contain burned-in captions? | Use the clean master with a separate track, or deliver the intended burned-in version without an unwanted duplicate. |
| A caption hides an important control | Does the layout change during the recording? | Adjust supported caption placement or video framing and replay that transition at the destination size. |
Download the caption review worksheet to record the video revision, language, cue corrections and recipient checks. It is an authored checklist, not a certificate or a claim of tested accessibility compliance. Open it in a text editor or copy the fields into your team’s review notes.
Assign unresolved cues to a specific person and mark what evidence is needed, such as the presenter confirming a product name. A file marked “final” should not hide known uncertainties. When the recording changes, carry those notes forward, compare the new duration and repeat playback against the new caption file.