How to Make a Tutorial Video: Steps, Script and Checklist
Published by Rescreen, which makes one of the products discussed. How we source and update these guides.
Make a tutorial video around one outcome, then work through the script, recording, edit, export and publication. The viewer should be able to repeat the task without guessing. A polished background or animated cursor cannot rescue a missing step, so decide what someone must be able to do at the end before choosing recording effects or a visual style.
The practice script, shot list and downloadable edit notes below show how to connect a spoken instruction to the action that must remain visible. Begin with a short saved audio test, record complete steps and check continuity before adding polish. Finish by opening the published result with the intended viewer's access and following it from the stated starting point. That final check tests the whole lesson, including readable labels, captions and permissions, rather than only whether the video looks finished inside the editor.
A practical starting setup for a screen tutorial
For a software lesson, start with a screen recorder, a microphone and an editor that can trim clips. A camera is optional. Use a 16:9 landscape frame for an ordinary help-center or desktop lesson, and a 1080p, 30fps project as a starting point when your recorder supports those choices. These are practical defaults for a mostly static interface, not minimum requirements or a claim that every tool exposes identical settings.
Enlarge the app's text before recording if small labels disappear at the intended playback size. Keep a higher-resolution source when you expect to crop into small controls. Use 60fps only when showing motion that benefits from it and your capture/export workflow can sustain it; doubling frames does not make unreadable labels legible. The proof is the exported page at its real viewing size.
- Open the sample task and close unrelated windows. Put the initial state on screen.
- Choose screen/window capture in your recorder, select the microphone, and add app audio only if it matters to the lesson.
- Record ten seconds, stop, and replay the actual file. Resolve missing sound before recording the script.
- Record complete steps with a short pause between them. Save the original take before editing.
- Import or open the take in the editor, trim the unwanted beginning and end, then follow the continuity checklist below.
On Mac, the native recording sequence provides the exact start/stop controls. If you need a broader editor, the workflow comparison separates capture-only tools from transcript and timeline editors. Choose the smallest workflow that can produce the lesson you need.
Define one visible outcome
Write a sentence such as “Turn on weekly summaries for a sample workspace.” Avoid covering every notification setting in the same recording. Open a dummy workspace, hide unrelated data, and make the relevant labels large enough to read.
Decide where the video will be watched. A small embedded player may need tighter framing than a full-screen training session. Test a short export at that size before committing to a longer take.
Define the starting point as well as the result
Write down what the viewer needs before the first click: an account, a permission level, a sample file or a particular page already open. A tutorial can show every action and still fail if it silently assumes the viewer has access they do not have. Put essential prerequisites near the start, and remove unrelated setup from the recording area.
Choose one audience. A new user may need help finding Settings, while an experienced administrator may only need the changed control explained. You can link to a prerequisite guide for the longer setup instead of making every lesson start from account creation. The promise in the title should match the task you actually complete.
Prepare a safe sample account with realistic-looking dummy values. Remove unrelated tabs and notifications, and check what will appear when a menu or account panel opens. This preparation reduces the chance of having to blur or replace part of an otherwise useful recording. It also makes repeat takes easier because the starting conditions are predictable.
A worked example: turn on weekly summaries
This is a fictional interface and practice script, not a claimed recording of a particular product. Adapt the labels to an app you can safely demonstrate.
| Beat | Screen action | Narration |
|---|---|---|
| Outcome | Show a sample summary email | “We’ll turn on a weekly summary so this workspace sends one update each Monday.” |
| Find the control | Open Settings, then Notifications | “Open Settings and choose Notifications.” |
| Change it | Enable Weekly summary | “Turn on Weekly summary for this workspace.” |
| Save | Press Save and leave the confirmation visible | “Save the change. The confirmation shows the setting was applied.” |
| Verify | Reopen the panel and show the enabled setting | “The setting stays on when we return. That’s the task complete.” |
Optional: use the script to compare recorders
For comparing recorders, deliberately repeat the third sentence once and leave a three-second pause before Save. Keep the same script, window size, OS, and microphone. Record which app version and plan you use. Do not present those intentional mistakes as real user-test results.
Turn the script into a shot list
The script tells you what to say; the shot list tells you what must be visible. For this example, retain five pieces of evidence: the desired summary, the route to Notifications, the switch changing, the saved confirmation and the enabled state after returning. If one is missing, a smooth voice track alone cannot prove the procedure is complete.
| Shot | What must remain readable | Useful hold |
|---|---|---|
| Starting state | Workspace name and where Settings lives | Enough time to orient before the pointer moves |
| Control | Weekly summary label and its current state | A short pause before changing it |
| Save result | Confirmation text and the changed setting | Long enough to read, even if the narration has ended |
Use the same window size for pickups. A replacement shot recorded with a different layout can make a control jump between positions at the edit. Keep a copy of the script beside the recorder, but do not place private notes inside the captured area. Practice once without recording so you can identify menus that close unexpectedly or confirmations that disappear quickly.
Download the practice script and edit notes
Use the script and shot-list CSV alongside the annotated edit notes. They describe the fictional weekly-summary interface above; they are reusable production materials, not a claim that a real customer recording was tested. Rename controls to match your application before recording.
The edit notes distinguish a duplicate line from a necessary action. If the first “Open Notifications” contains the only visible navigation, keep that picture even when using a cleaner second take for the words. The downloadable checklist gives you a place to record what to keep, what to replace and what must be verified in the final file.
Record in short, complete steps
Make a ten-second microphone check. Say a sentence at your normal volume, click a control, and listen to the saved result. If you need app sound, select it separately. Our Mac narration guide and computer-audio guide explain the difference.
Record a complete step before stopping to correct yourself. If you stumble, pause and repeat the sentence with the cursor in a sensible place. This gives the edit a clean alternative instead of several overlapping fragments.
Choose screen, camera and sound deliberately
Record only the area needed to teach the task, with enough surrounding context to show where the user is. A tight crop may make one button readable while hiding the route to it. A full desktop may show too much empty space. Test the result at the destination size and adjust the app’s own interface scale when appropriate rather than relying entirely on zooms afterward.
If your camera is visible, keep it away from menus, captions and confirmation messages. You do not need to remain on screen during every detailed step. A brief introduction can establish context, followed by a larger screen view when the viewer needs to read. Use the camera only where it adds something to the explanation.
Separate narration from application sound in your checklist. A microphone check does not prove that a browser tab or desktop app is audible. Include both sources in the saved sample if both matter to the lesson. Use headphones to make it easier to hear accidental echo, and keep the microphone position consistent between the main take and any replacement sentences.
When you make a mistake, pause before restarting the complete thought. Avoid apologizing or explaining the mistake unless that explanation belongs in the tutorial. Leave the screen in a state that can be connected to the earlier step. A clean pickup is easier to edit than a corrected word spoken while the pointer continues through several new actions.
Edit for the person following along
- Keep the click that causes each visible change.
- Remove the repeated explanation, then listen across the cut.
- Hold a confirmation long enough to read it.
- Use a closer view when a label is too small, then restore enough context for the next step.
- Correct product names and keyboard shortcuts in captions.
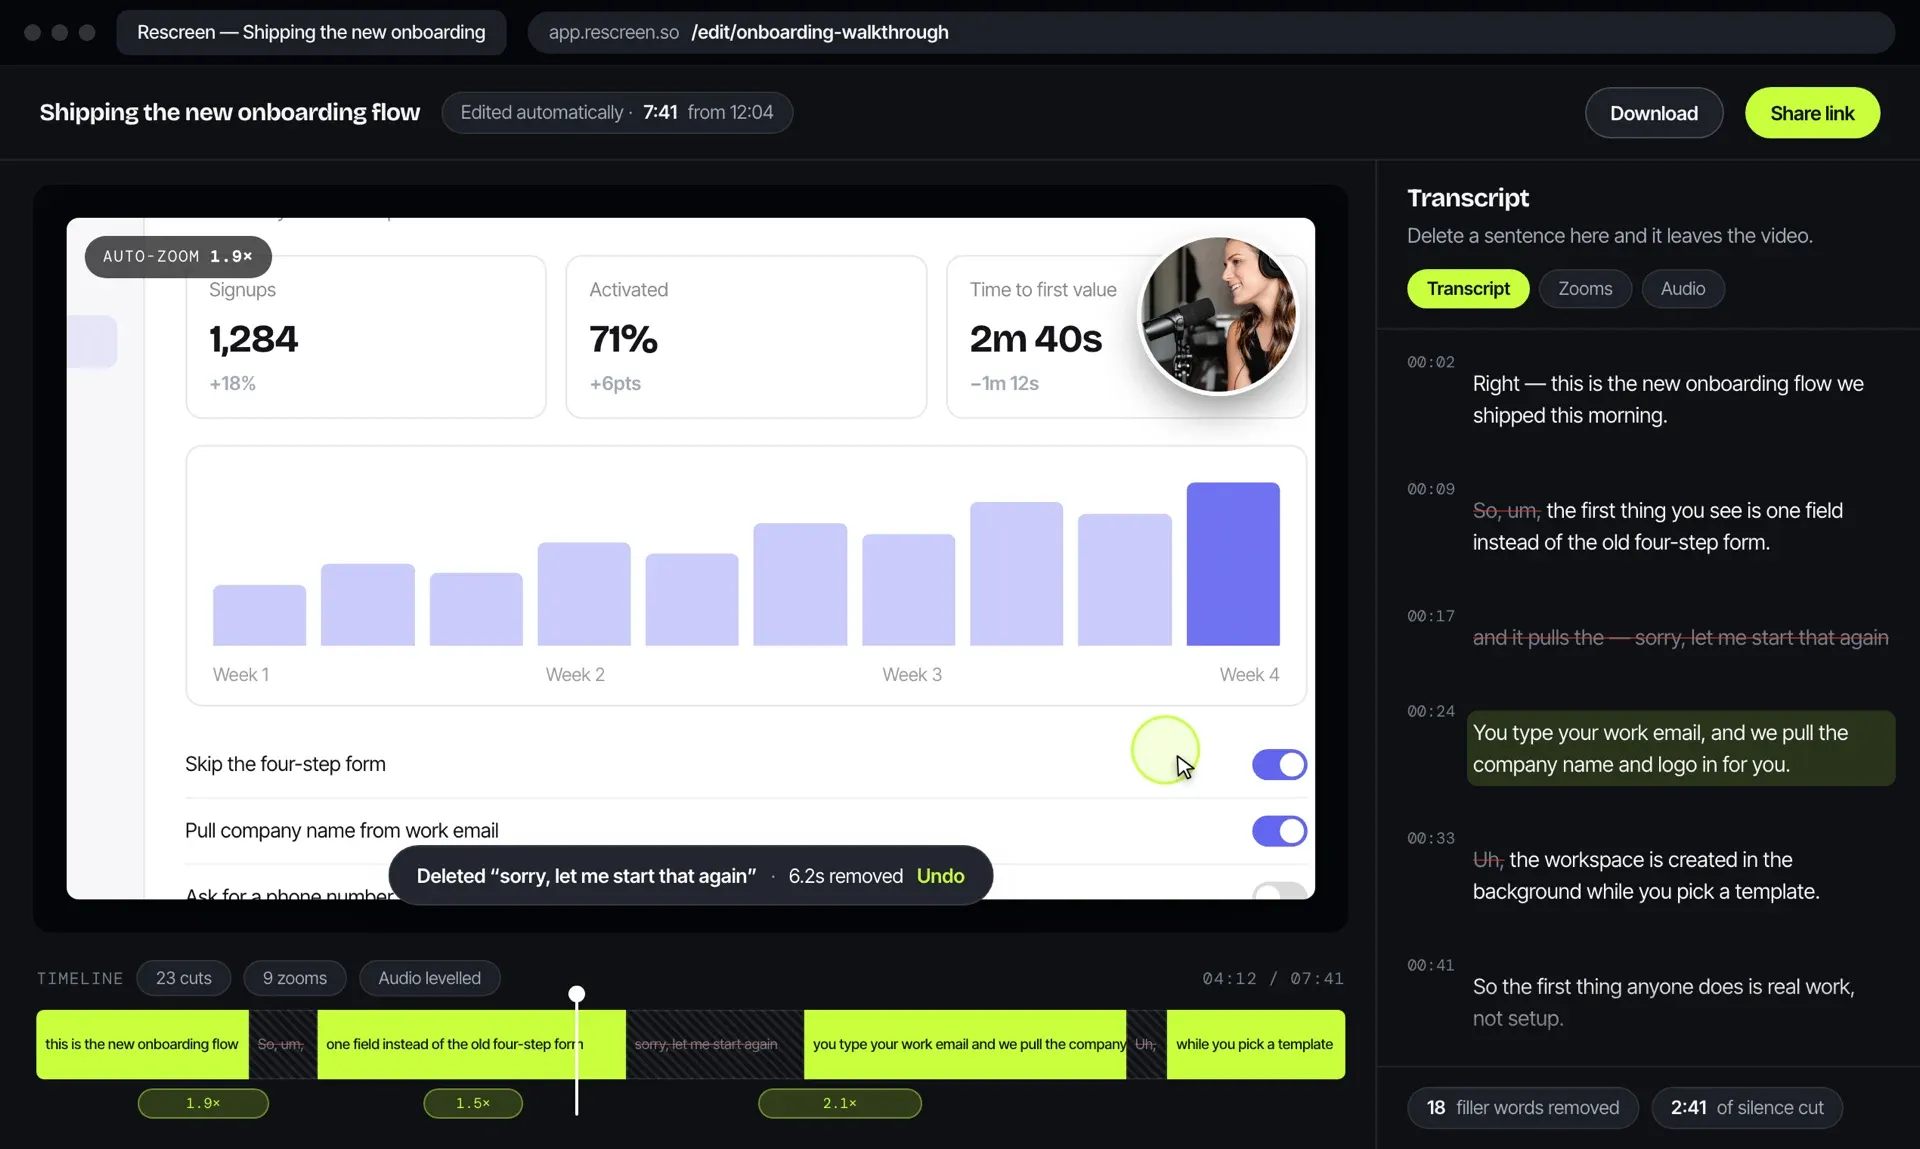
Rescreen's automatic editing and framing can help with the first pass. Whatever tool you use, review the finished sequence: removing silence is only useful when it does not remove the time a viewer needs to understand the screen.
Check continuity before adding polish
First make the procedure complete. Watch for a menu opening without a visible click, a setting changing off screen or a confirmation disappearing at the cut. If an automatic edit removes the only evidence of an action, restore that section or record a pickup. The shortest version is not necessarily the clearest version, especially when the viewer is trying to follow along in another window.
Then improve pacing. Remove duplicated explanations, but keep useful reading time and the pauses that separate steps. Use a closer view when a label would otherwise be illegible. Return to a wider view when the next action depends on location. Repeated zooms without a teaching purpose can make it harder for the viewer to maintain a sense of where they are.
Review captions as instructions
Correct names, numbers, shortcuts and the exact labels the viewer must find. A caption that changes “disable” to “enable” is a procedural error, not a cosmetic one. Read captions while watching the relevant control and make sure they refer to the same action. Keep them clear of important interface elements and check them at the actual player size.
Watch once without sound. You are checking whether the visible sequence and captions make the task understandable, not assuming every viewer will use audio. Then listen without looking at the screen to catch clipped words or abrupt changes between takes. These are complementary checks; neither replaces watching the finished lesson normally.
Review the exported result
Play the export outside the editor and at its intended viewing size. Follow the steps in a fresh sample workspace. Check the voice, captions, readable labels, start and end frames, and any share-link permissions.
Optional: keep notes for a recorder comparison
For a tool comparison, note the manual corrections, export settings, final duration, and whether a paid feature was required. Keep screenshots and output files alongside the notes. Only report a measured advantage after running equivalent tests; a feature list alone does not establish speed or quality.
Use a release checklist for the finished file
- Procedure: start from the stated prerequisites and follow each action in a fresh sample workspace. Confirm the result, rather than just recognizing the screens.
- Picture: inspect the smallest labels and every change of framing. Check the first and last frames for accidental desktop or account details.
- Sound: listen to narration and required app audio throughout. Compare pickup sentences with the surrounding voice level.
- Text: proofread the title, captions, step names and any links. Use the same terminology as the current interface.
- Delivery: open the share link or embedded player with the intended viewer access. Check that the file finishes playing and that the result remains readable.
Name the final export so you can distinguish it from the source take and review copies. Keep a dated note of the app version or interface shown. Store the source, script and final file together when the lesson is likely to need an update. That makes a future label change a small revision instead of a complete rediscovery of how the video was produced.
After publication, use specific feedback to improve the lesson: where did someone pause, which prerequisite was missing, and which label could they not find? Do not infer a teaching problem from one short watch session alone. A viewer may have needed only one step. Combine playback information with direct questions or support requests before deciding what to change.
Export, caption and publish the finished tutorial
For a common web-video delivery route, use an MP4 file with H.264 video and AAC audio when the editor provides those options. Keep the export frame rate consistent with the recorded material. YouTube's upload recommendations document these format choices; a different host may publish its own requirements. Avoid repeatedly re-encoding the same export to make revisions: return to the source project and create a fresh final file.
Upload a small sample before exporting a long lesson. Check whether the host has completed its higher-resolution processing before judging blurred text. If 1080p still makes the required menu unreadable in an embedded player, reframe or enlarge the source interface rather than hoping a higher bitrate alone will recover detail that was never captured.
| Destination | Delivery choice | What to verify |
|---|---|---|
| Public help article | Hosted video embedded beside written steps | Readable mobile player, captions, descriptive title and an owner who can replace outdated material |
| Restricted team training | An authenticated host or learning system | The intended account can watch and an unauthorized account cannot |
| Link-only demonstration | A share link appropriate for non-sensitive material | Whether anyone receiving a forwarded link can watch |
| A downloadable handoff | Video file, captions and source notes | The recipient's player handles the format and the folder includes the correct version |
On YouTube, unlisted is not private access control: someone with the link can pass it on. Use a private or authenticated delivery route when the lesson requires restricted access. Choose the audience deliberately instead of treating a hidden search listing as a permission boundary.
Upload corrected captions as a separate subtitle track where supported, and provide the procedure as readable text beside the player. Burned-in captions remain visible in the picture but cannot be toggled or restyled by the viewer. If you use them for a social version, retain a clean master and an editable caption file so a label correction does not require rebuilding every variant from scratch.
Finish with a specific title such as “Turn on weekly summaries for a workspace,” a short description naming the prerequisites, and step timestamps for a longer lesson. Open the published version using the intended viewer's access and follow the task from its starting state. Store the source, script and final export together, with the date and interface version. That turns future maintenance into an update to known material instead of a new recording project.