Audio & Screen Recorder for Mac (No Downloads Needed)
Quick answer: To record your screen and audio on a Mac, you can use the built-in Command + Shift + 5 shortcut to capture your microphone. However, capturing internal system audio natively requires complex virtual audio drivers like BlackHole. For a simpler, browser-based solution that captures both without downloads, use an AI screen recorder like Rescreen.
You finish a flawless 10-minute software walkthrough on your Mac, only to play back the file and hear complete silence where the application's sound should be. Apple intentionally restricts native tools from capturing internal audio out of the box.
Bypassing this limitation depends on your exact setup. To record your screen and audio on a Mac, you can use the built-in Command + Shift + 5 shortcut to capture your microphone. However, capturing internal system audio natively requires complex virtual audio drivers like BlackHole. If you prefer a simpler browser-based solution that captures both without downloading extra software, an AI screen recorder like Rescreen gets the job done directly.
Here is how to route your audio and configure your capture settings for any workflow.
The Challenge: Why macOS Restricts System Audio Recording
Every month, roughly 5,400 people in the US search Google for ways to capture both their desktop and system sound simultaneously. The quest for a working audio and screen recorder for Mac usually begins after a user hits a deliberate operating system wall.
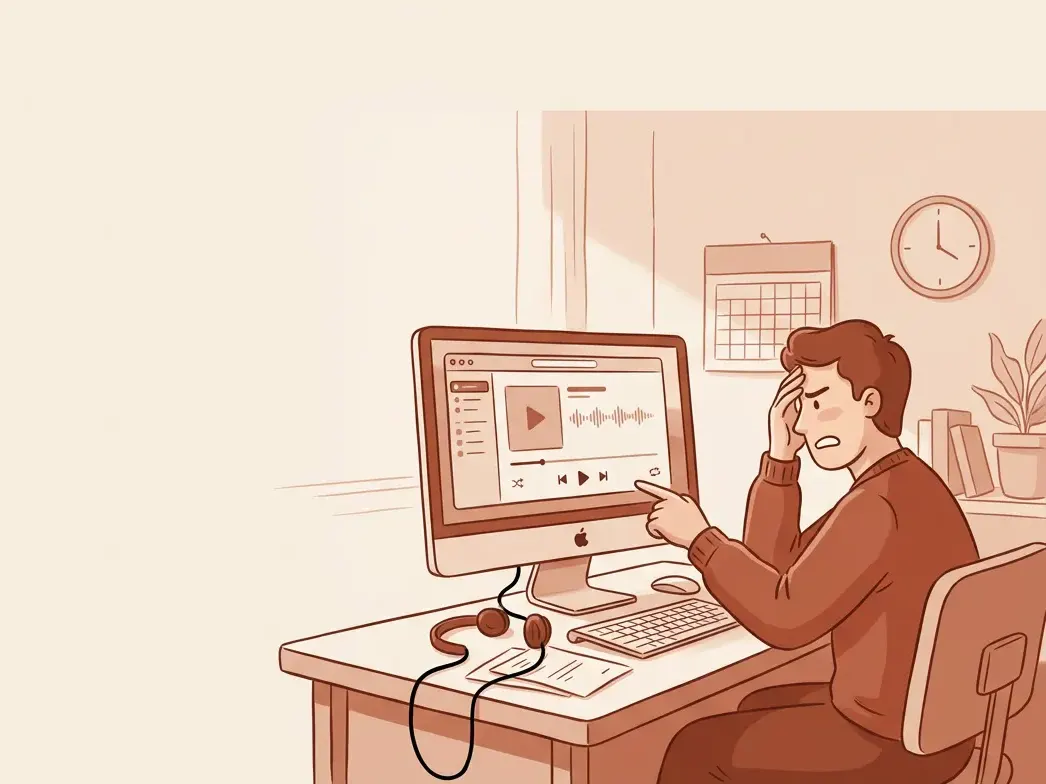
Picture a product manager trying to record a quick tutorial of a new video conferencing feature. They press Shift, Command and 5 to pull up the native macOS Screenshot app, select their microphone, and run straight through the demo. But playing back the saved .mov file reveals a frustrating result: their voice speaks over a completely silent interface, with the incoming application sound missing entirely.
This happens because Apple strictly enforces copyright privacy protections out of the box. By default, macOS isolates internal system audio — a YouTube video, a Zoom meeting, gameplay — from the built-in capture utilities to prevent unauthorized recording of copyrighted media streams. External microphone inputs pass through without friction, but the internal audio stream hits a dead end. That limitation leaves users scrambling for virtual audio drivers or browser-based platforms that can mix both channels automatically.
How to Record Your Screen and Microphone on a Mac (Built-In Method)
Mac computers offer two distinct paths for capturing your voice during a recording: the built-in utility or a dedicated AI platform. For simple hardware microphone capture, the native route works reliably.
Using Command + Shift + 5
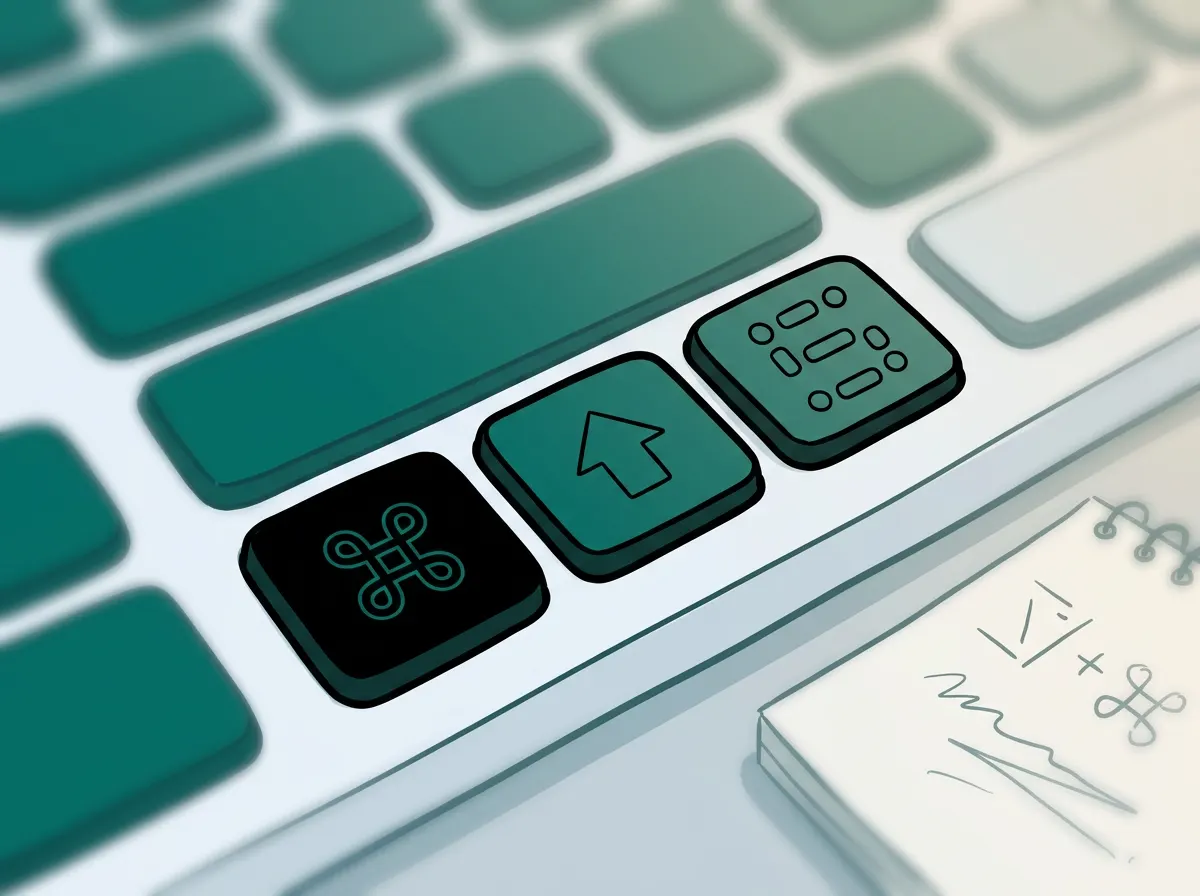
If your machine runs macOS Mojave 10.14 or later, you already have the necessary tool installed. As Apple's official documentation notes, pressing Command + Shift + 5 opens the native capture interface immediately. You can choose to record the entire screen or just a selected portion. macOS Tahoe 26 introduced the ability to toggle between SDR (H.264) and HDR (HEVC) capture formats directly in this utility, and stopping a session requires only the Command-Control-Esc shortcut.
Selecting your audio source
Click the Options menu on the toolbar before recording to choose your microphone input. While the native tool grabs your voice without fuss, it leaves all post-production work entirely to you. Here is how the built-in method compares to an AI-powered editor like Rescreen when recording your voice:
| Capability | Native macOS capture | Rescreen |
|---|---|---|
| Audio selection | Manual dropdown selection | Automatic source detection |
| File management | Saves large .mov files to the desktop | Browser-based cloud storage |
| Post-production | Requires manual timeline edits | Automatic silence and filler removal |
For a raw, unedited video file, the built-in shortcut does the job. But if you want to skip manual timeline work and edit the resulting video via text transcripts, Rescreen handles both capture and cleanup instantly.
How to Capture Internal System Audio on Mac
Three of the top five Google results for finding an audio and screen recorder for Mac are troubleshooting forum pages. Users consistently hit a wall trying to capture system sound because bypassing Apple's privacy blocks requires third-party software.
The OBS Studio method
OBS Studio provides a direct workaround for capturing internal system audio without paying for premium licenses. On newer operating systems, the open-source app manages this internally. After installing, open the application and find the Sources panel at the bottom. Click the "+" icon, choose "macOS Screen Capture", and confirm your selection. Over in the Audio Mixer panel, the slider labeled "macOS Screen Capture" controls your internal computer audio.
Routing audio with BlackHole
If you prefer sticking with the native Apple screenshot utility while capturing system sound, you will need a virtual audio driver. BlackHole is a virtual audio loopback driver for macOS that routes audio between applications with zero additional latency, supporting both Intel and Apple Silicon chips on macOS 10.10 and newer.
After installation, open your Mac's Audio MIDI Setup app. Click the "+" icon to create a Multi-Output Device, checking the boxes for both your built-in output and BlackHole 2ch. Switch your Mac's primary sound output to this new device inside System Settings. Finally, open your screen recording options and select BlackHole 2ch under the microphone settings before hitting record.
The catch is that a Multi-Output Device is now your default output, so system volume keys stop working and you have to switch back by hand once the recording is done. It is a real fix, but it is a fix you have to remember to undo.
A Faster Way: Recording Both Screen and Audio Without Downloads
Picture sitting in front of your monitor with the macOS Audio MIDI Setup window open on one side and an instructional YouTube video paused on the other, meticulously patching virtual audio cables just to record a quick software demo. Nearly every answer to this question ends in a YouTube walkthrough of the same routing trick, which tells you how much of the job is setup rather than recording.
Capturing audio via the browser
Rescreen avoids this entire setup by relying on browser-based recording. Instead of requiring loopback drivers or system-level audio permissions, Rescreen captures the sound of the tab you share alongside your external microphone feed directly. Open a tab, hit record, and the platform handles both audio sources inside the browser without software downloads.
Automatic editing and transcript generation
Once capture finishes, Rescreen works as an AI video editor. The moment you stop recording, it automatically trims out mistakes, retakes, filler words and awkward pauses. It balances your audio levels and applies auto-zoom immediately. Instead of scrubbing a traditional timeline for an hour, you edit the video via text transcripts, simply deleting words to cut the corresponding video footage.
What is the best software to record both screen and audio on a Mac?
Most Mac users assume that capturing system sound requires a heavy desktop application or the technical patience to configure OBS Studio. Support forums consistently point to open-source virtual drivers as the inevitable fix, but forcing teams to manage manual audio routing just to share a quick software demonstration is an outdated approach.
Desktop downloads solve only part of the problem while introducing new friction. Dedicated apps like Screen Studio focus heavily on post-recording animations, while free utilities like ScreenRec push users toward their paid tiers by capping what a free account can keep in cloud storage.
If you need an audio and screen recorder for Mac that gets out of the way, Rescreen offers a modern alternative. We built it because recording a quick update shouldn't start with a driver installation. By relying on browser-based recording, the platform captures both your screen and the audio playing inside it instantly, with nothing to download.
Instead of leaving you with a raw file to edit on a timeline, Rescreen automatically cuts silences, removes filler words and levels the sound the moment you stop recording. The best tool turns your capture into a polished, text-editable transcript before you even click share.
Frequently asked questions
How to record your screen and yourself on a Mac?
Capturing your webcam alongside your desktop requires a third-party application, as the native macOS screenshot utility does not support simultaneous camera and screen recording. Platforms like Rescreen let you record your display, system sound, and a camera feed directly from your browser. This approach bypasses native limitations and automatically trims filler words from the final video.
What file format does the Mac screen recorder use?
Apple saves native screen captures directly to your desktop as .mov files, usually naming them with the date and time of the capture session. macOS Tahoe 26 also lets you toggle between standard SDR (H.264) and HDR (HEVC) capture formats inside the built-in Screenshot app options menu.
How do you stop a native screen recording on macOS?
Ending an active capture session takes only a second. You can either click the circular Stop icon located in your top menu bar or press the Command-Control-Esc keyboard shortcut. Once the recording terminates, the system processes the audio and video file and drops the finished output onto your desktop.