How to Blur Sensitive Information in a Screen Recording
Published by Rescreen, which makes one of the products discussed. How we source and update these guides.
To blur sensitive information in a screen recording, place a mask over every visible occurrence, keep it aligned for the entire time the information appears, and inspect a newly exported copy. For private text, a solid opaque cover is easier to verify than a subtle blur. Check the narration and captions separately: covering the picture does not remove a name spoken aloud.
This guide is for a saved software recording that needs a safer version before sharing. You will build a list of fields to hide, handle scrolling and moving windows, and check the file your recipient will actually receive. If you have not captured the video yet, starting with a sample account can save a much harder editing job.
Choose between rerecording, covering, blurring and cropping
Start with what the viewer needs to learn. A reviewer may need to see that an email field is populated, without knowing its contents. Covering the value while leaving its label visible preserves that useful context. If the value itself explains the problem, reproduce it with harmless sample data that still demonstrates the behavior.
| Method | Useful when | Main check |
|---|---|---|
| Rerecord with sample data | The task is repeatable and private fields appear throughout. | The sample still demonstrates the same result. |
| Opaque cover | A specific value must be hidden while nearby controls remain visible. | The cover is fully opaque and surrounds the whole value. |
| Blur or pixelation | You need a visual obscuring effect and can assess the result carefully. | No readable characters remain at full playback resolution. |
| Crop | The unwanted area stays outside the useful action. | It never returns inside the frame after movement or reframing. |
Do not judge a blur from a tiny editor preview. Enlarging the player can reveal shapes you missed, and a name might be repeated elsewhere on the screen. No strength slider proves that a recording is anonymous. Use the simplest method you can inspect confidently; rerecord when the amount or movement of private content makes review unreliable.
Prepare a safe recording and finish the edit first
For a new take, use a demonstration workspace with invented records. Close unrelated tabs, clear unnecessary browser chrome from the capture area and silence notifications before recording. Walk through the entire route once: autocomplete, recent-file lists, account menus and confirmation dialogs can reveal information that was absent from the opening screen.
When you record with Rescreen, capture the sample-data workflow, review the automatic edit and restore any action needed to follow it. Download the approved version, then apply privacy masks in a separate editor, or in our free blur video tool, which works in your browser without uploading the file. Downloads require Pro under the current plans. This sequence gives you a settled timeline to check; this guide does not assume a native Rescreen blur or automatic sensitive-data detector.
Only record information you are allowed to put into the recording service. An external mask applied later does not change an earlier uploaded source or its existing share link. For a source that must stay on your device, choose a permitted local capture and editing workflow from the outset.
Complete cuts, speed changes and zoom framing before positioning masks. Those edits can move both the moment and the screen coordinates where a field appears. Give the final source a versioned name, such as account-walkthrough-v03.mp4. If the edit changes later, review the masks again against that revision.
For a visual example of masking before capture, this older Blurweb App demonstration on YouTube shows selecting webpage elements before recording. It illustrates prevention, not redaction of an existing video; it is not a current product recommendation or a guarantee that a browser mask catches every state.
Make an occurrence list before adding effects
Play the complete recording once to locate sensitive content. Note each appearance with a start time, end time, position and the reason it needs attention. Record categories such as “customer email” rather than copying the private value into the review notes. A worksheet should not become another place that exposes the information.
Look beyond the central panel. Check address bars, tab titles, profile pictures, filenames, search suggestions, chat previews and tooltips. A field may appear in a table, a detail panel and a notification at different times. Treat those as separate occurrences until you have confirmed that one mask covers all of them.
For each occurrence, mark whether it stays still, moves with scrolling, changes size or disappears behind another window. Note any spoken reference and any caption or transcript that repeats it. This gives you separate visual, audio and text work rather than a vague instruction to “blur the account.”
In a bug-report recording, keep the action and failure visible while covering irrelevant identifiers. If redaction would hide the very evidence needed to diagnose the problem, reproduce the issue with a safe fixture or arrange an appropriate restricted handoff. Do not replace a meaningful error with a misleading demonstration.
Cover the whole field and follow its movement
- Import the final source into an editor that supports a filled overlay or regional blur. Keep the original separate from the output.
- Place the effect above the video and draw its boundary around the entire sensitive value, including a small margin.
- Set its start before the first exposed frame and its end after the last. Inspect those boundaries frame by frame.
- For moving content, use the editor’s position keyframes or tracking controls, then correct any drift manually.
- Preview each occurrence at full size, including scrolling, transitions and interruptions. Repeat for every independent field.
Exact control names vary between editors, but the expected result is the same: the covered region follows the content for its complete appearance. A fixed rectangle can work for a stationary account label. It will not follow a customer row that scrolls up the page or a dialog that is dragged across the screen.
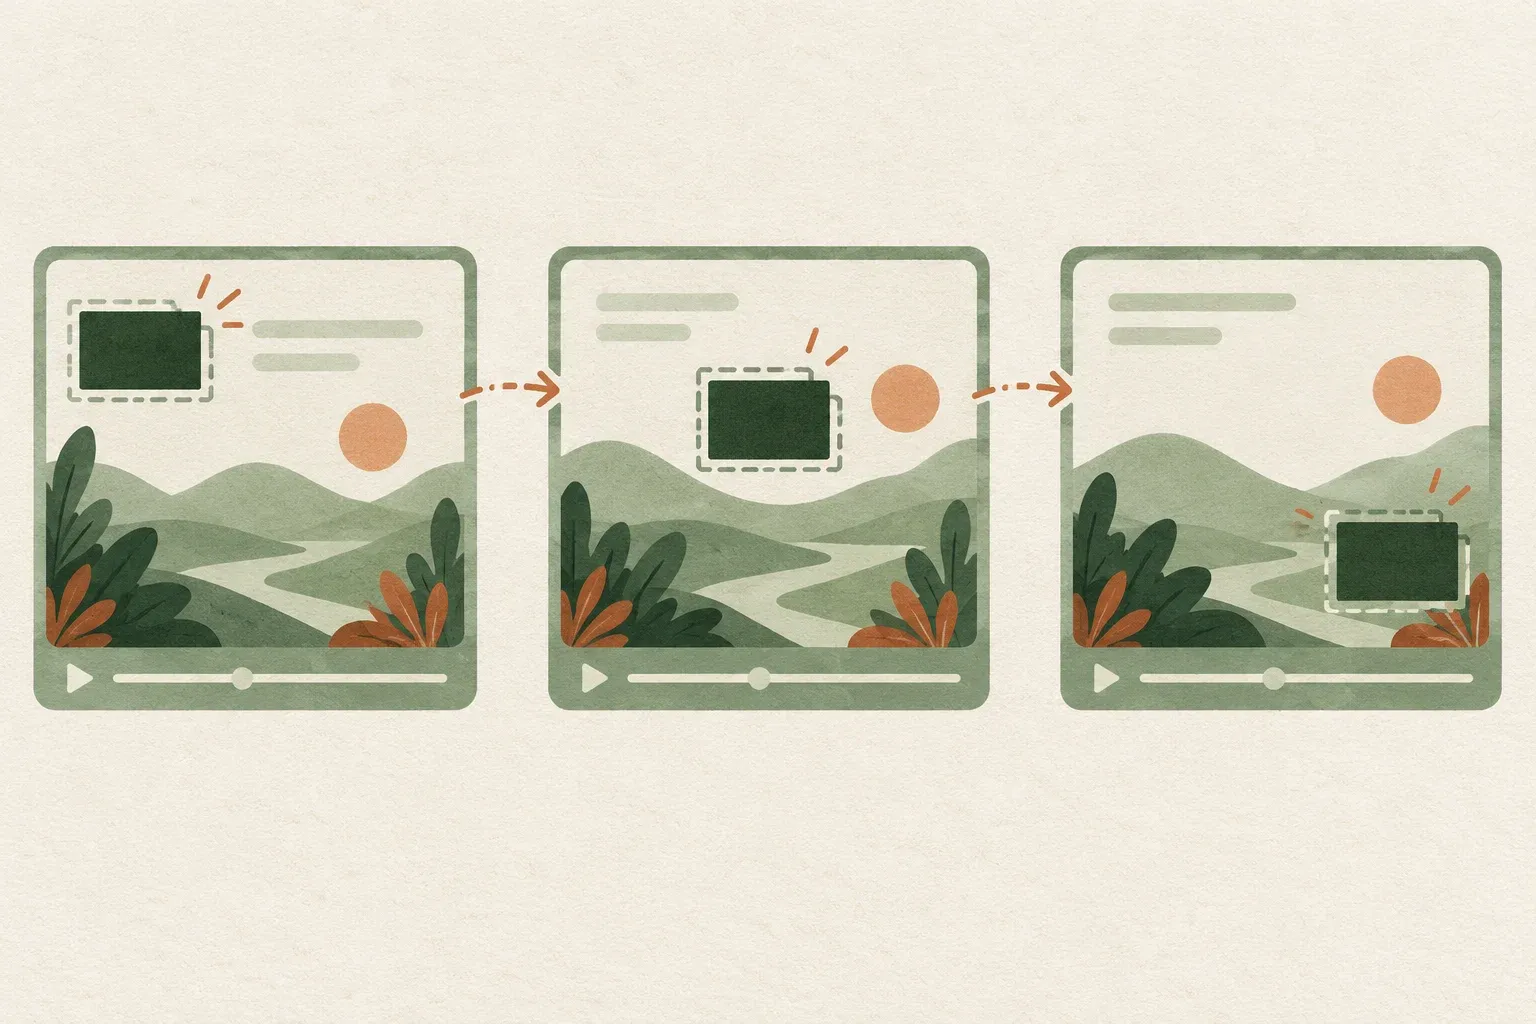
After automatic tracking, examine moments when the field crosses another object or leaves the frame. The tracker may attach to a neighboring shape. Split the effect into separate intervals when a field disappears and later returns in a different place; do not let an interpolated motion sweep the mask across unrelated controls.
Avoid fade-in or fade-out animation on a privacy cover. Partial transparency can expose the content at the beginning or end. If a page transition blends two screens, cover both locations for the overlapping frames or replace the transition with a clean cut and recheck its timing.
Make a simple local copy with a fixed opaque rectangle
If you already use FFmpeg, its drawbox filter can render a filled rectangle. The following example covers a fixed area for the entire video and deliberately removes all audio. It is suitable for a silent demonstration with one stationary field, not a moving target or a narrated lesson that needs its voice preserved.
ffmpeg -i input.mp4 -map 0:v:0 \
  -vf "drawbox=x=100:y=80:w=240:h=60:color=black:t=fill" \
  -an -sn -dn -map_metadata -1 -map_chapters -1 \
  -c:v libx264 -crf 18 -pix_fmt yuv420p redacted.mp4
Replace the filename and rectangle coordinates with your own. Here the top-left corner is 100 pixels from the left and 80 from the top; the cover is 240 pixels wide and 60 high. Measure against the actual video frame, not the scaled editor window. This example requires an FFmpeg build with the libx264 encoder.
We checked this command on a synthetic two-second, 640 × 360 video at 30 frames per second. All 60 decoded output frames had a black interior sample inside the rectangle and a white sample outside it. That checks this fixed-box operation only; it is not a test of private-data detection, moving masks or your particular footage.
The command selects the first video stream and writes a new encoded video, with no audio, subtitle or data streams mapped. It also disables automatic metadata and chapter copying. It does not remove information visible outside the rectangle, sanitize a filename or alter the original. Inspect the complete output before using it; changing a file extension or copying the original video stream cannot apply this visual edit.
Use YouTube Studio only for material permitted on YouTube
For an already uploaded video that you are allowed to keep on YouTube, the current YouTube blur instructions provide a built-in option. On a computer, open Studio, choose Content, select the video and open Editor. Choose Blur, then Custom blur; position the box, adjust its time range and save.
YouTube offers tracking for a moving object and a fixed-position option. Check which matches the scene. Its documentation warns that saved Editor changes can no longer be undone using Revert to original, so retain an appropriate source copy before committing an edit.
Do not upload an unredacted confidential source merely to use this feature. A private visibility setting and visual masking solve different problems. Review the processed player result after saving, including the first and last affected frames; an editor preview is not the final recipient view.
Review spoken information, captions and other text
Listen without looking at the screen. If a presenter reads an email address or account number aloud, the image can be perfectly covered while the audio still discloses it. Replace the sentence with a safe explanation, remove that portion or mute the relevant audio interval in an editor, or with the free remove audio from video tool, which silences one stretch and copies the picture untouched. Then check that the remaining instructions still make sense.
Check every audio track intended for delivery. A file can contain separate microphone and computer-audio tracks, and the player you use for review may select only one. Export only the tracks you actually need, and verify the recipient version rather than assuming that silence in one preview means the whole file is silent.
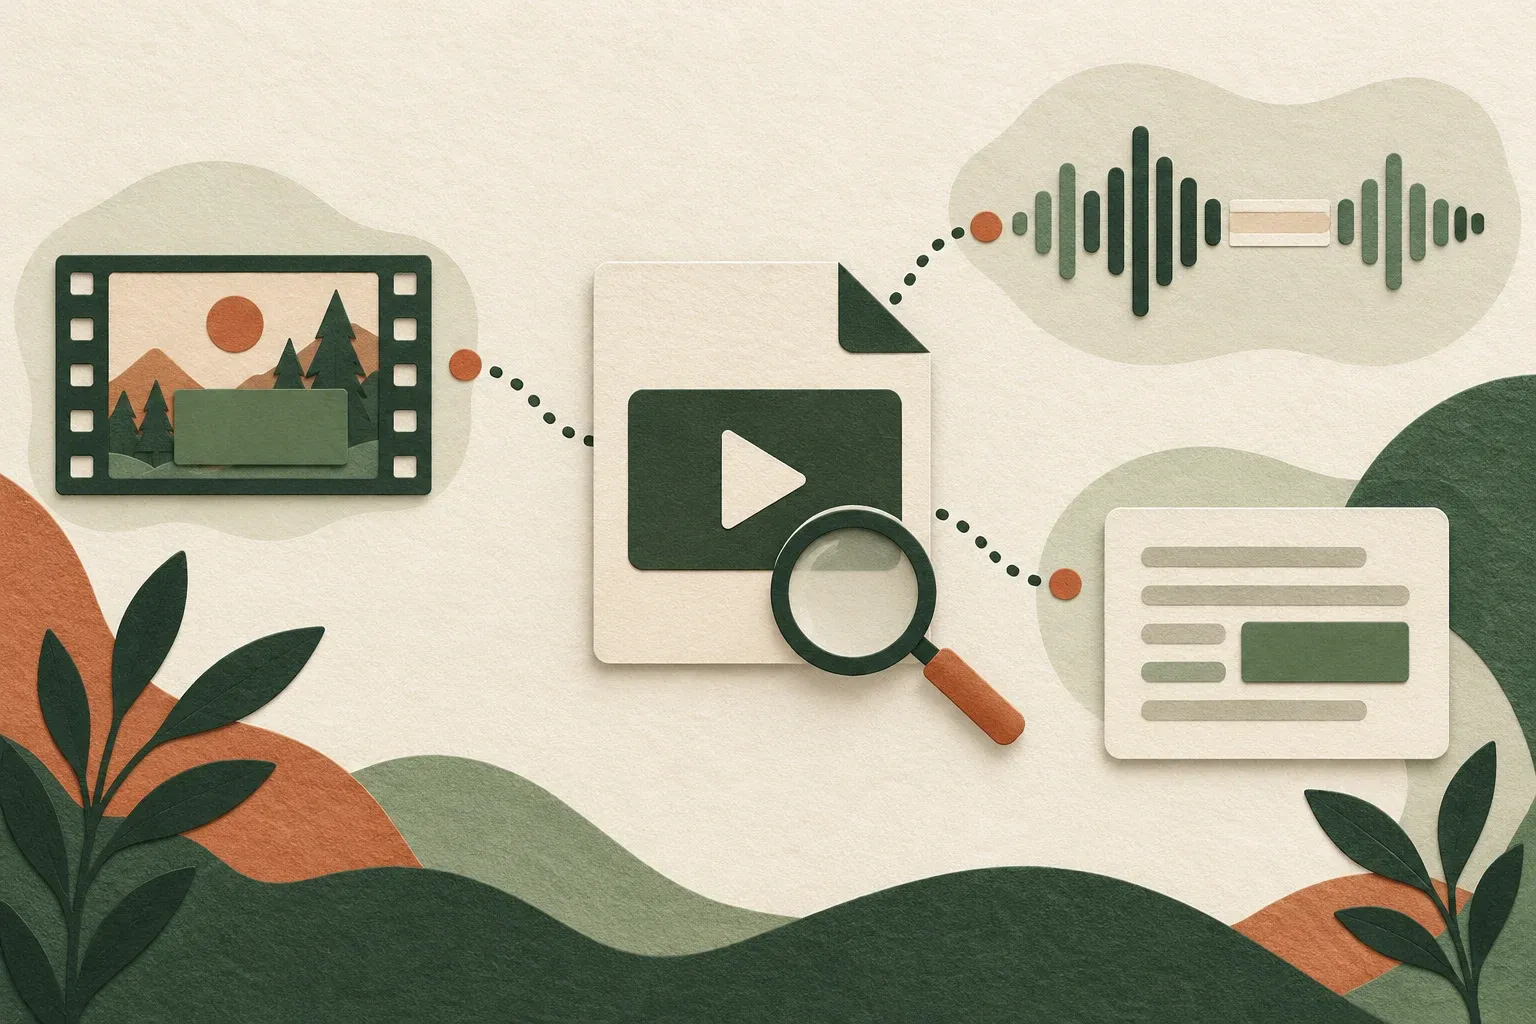
Read captions, transcripts, descriptions and attached notes for the same identifiers. If you change the narration, update its captions to match the new audio and timing. The screen-recording caption workflow explains how to check that pairing. A caption conversion preserves text; it does not decide which information should be removed.
Inspect the exported file outside the editing project
Export with a new name, open that file in a separate player and confirm its duration and revision. Watch once at normal speed for the overall explanation, then inspect every marked occurrence at full size. Pause around the first and last covered frames and step through movement where the mask changes direction.
Check that the export contains the actual effect. An overlay that was visible only in the editing interface, disabled for rendering or placed on a hidden track does not help the recipient. Compare the occurrence list with the output, rather than relying on memory of which boxes you added.
Review what remains understandable. The viewer should still be able to identify the control, action and result. A large mask that hides the entire interface may remove the information the video was made to convey. Reframe the demonstration or use sample data when you cannot preserve both privacy and useful context.
| What you find | Likely gap to inspect | Repair |
|---|---|---|
| A value flashes before the cover | The effect starts after the first exposed frame. | Extend its start, then step through the boundary in the new export. |
| Text escapes during a scroll | The box stayed fixed or tracking drifted. | Correct the motion path or split the interval; inspect the entire scroll again. |
| The picture is safe but a name is audible | Only the visual track was reviewed. | Repair the narration and matching captions, then listen to the delivered version. |
| The shared video still shows the original | The destination points to an older asset. | Replace the intended attachment or link and reopen the recipient view. |
Download the redaction review worksheet to track occurrence times, movement, audio and caption repairs, and the delivered revision. It contains blank fields and a checklist, not sample personal information. Keep unresolved items visible and assign a reviewer before calling the export finished.
When a second person checks the video, give them the review categories and intended audience, not just a request to approve it. They should look for overlooked repetitions as well as inspect the masks already placed. A complete checklist records what was examined; it does not certify that a video is anonymous or compliant with a particular policy.
Share the reviewed copy and keep the source separate
Upload or attach the approved export, then open the destination as a recipient would. Confirm that the link points to the new copy, not the original recording. Check the selected thumbnail, generated captions, downloadable file and any accompanying screenshot. Those can be separate artifacts with their own private information.
Record the reviewed filename, date and destination alongside your checklist. If you replace the export after a correction, repeat the affected checks and confirm that the destination now serves the corrected version. Do not assume an earlier downloaded copy has changed just because the hosted video was replaced.
For repeatable product demonstrations, keep a clean sample-data workspace and script for the next take. Preventing a real identifier from entering the recording is easier to maintain than repeatedly finding it across every visual and spoken occurrence.